Showing posts with label floral card. Show all posts

Monday, April 25, 2022

All The Shop Hop

Welcome to the Scrappy Tails Crafts “All The Shop Hop”   Today we are hopping along with

all of the designers showcasing our favorites from our older releases, mixing them with the new. The idea is to shop your stash and see how well the entire line from Scrappy Tails Crafts work together! Sit back and grab your favorite beverage and snack and be inspired.  

As you hop along, be sure to leave your comments on each person’s blog and video to enter into the chance to win one of three $25 gift certificates to the Scrappy Tails Craft’s website! The more comments you leave, the more opportunities to win! If you enjoy the hop and all of the beautiful projects showcased, consider subscribing to each designer featured on the hop! Also, please consider subscribing to the Scrappy Tails Craft’s Youtube channel for more inspirational video tutorials and to never miss out on future giveaways. 


So to start- I'm using the A7 Flower Cover Plate & Popping Poppies Stamp/die set. 
To start I stamped my image onto 80lb Neenah Cardstock from Cutcardstock & die cut it out.
Then I colored it simply with Copics E01,RV42,R22 & R14 for the poppies and the leaves in YG03,YG25,YG17
I then grabbed a piece of watercolor cardstock and added Tumbled Glass reinker with water to the center working my way out. Once mostly dry I used a floral Embossing Folder on it. 
Then I die cut the floral frame from the A7 Flower Coverplate set. 
But I needed it to be A2. So....
I Cut it in these areas and made it down to size. I used Epic Black 130lb Cardstock from Cutcardstock.
I glued everything together, the watercolor embossed panel to my black card base and the floral frame to that. Then I decided to add color to the frame so I used the same marker colors. 
I added foam tape to the back of my heart and added a sentiment.
For the last touches I added coordinating stickles to the frame for sparkle and some shimmer to the Poppies. 
And a few iridescent gems to the white areas on the heart and Black Glaze pen to the stamen. These lil details really make a card special. 

Thank you so much for stopping by. 


The hop ends on Monday, May 2nd at 11:59 PM EST. Winners will be announced on the Scrappy Tails Craft’s YouTube channel and blog on Friday, May 6th

If you see something that catches your eye as you're hopping along, be sure to use our design team member’s affiliate links listed in their blogs and video descriptions! This is no added cost to you, it’s just a fun way to support our crafty friends!

Thanks for stopping by!

The next person on the hop is:

https://scrappytailscrafts.com/blogs/blog

Disclaimer: We must mention that this is in no way sponsored, administered or associated with YouTube. By entering, entrants confirm that they are 13+ years of age, we release YouTube of responsibility, and agree to their terms of use.

Monday, April 4, 2022

Floral Frame 5x7 Card

Hi friends! For todays card I am creating my very 1st 5x7 card. 
I'm using Scrappy Tails Crafts A7 Flower Cover plate die.
To start off I die cut the flower border from 110lb Neenah cardstock from Cutcardstock. 
The next step was to die cut the shadow layer. 
So I used the outer layer die and the inner die for that.
Then I colored my flowers and glued it to my shadow layer and then die cut THANK YOU FRIEND" 3x and stacked them up. I die cut the word shadows from 48lb Vellum from Cutcardstock as well.
Once that was done I glued it down to rough textured cardstock. 
I die cut 2 vellum leaves and stuck them under "for your kindness"
I added my panel to a black cardbase (130lb Epic Black cardstock) and some black splatter to the rough panel.
 The last step was adding iridescent gems to the flowers, shimmer and white gel pen to them as well. 
Thanks so much for stopping by.
Some of the links are affiliate  links & if you use them I'll receive a small commission at no extra cost to you at all.
Thanks for stopping by!πŸŒΈπŸ’—

Tuesday, February 22, 2022

The Rabbit Hole New Release-Spring Kitty Card Day 2 Hop

Hi guys! Im here today as part of a blog hop to celebrate The Rabbit Hole Designs New release. I used Spring Kitty illustrated by Tatsiana Zayats
 for my vellum card today! 
I started off by stamping my image with my go to Memento Tuxedo black ink onto 80lb Neenah cardstock from cutcardstock.  I colored it with Copic markers. I die cut it out with a circle die and then a black circle with a bigger circle die. 
Then I used Garden Trellis stencil from TRHD and I used Gray for a soft Background. Then I grabbed a reverse scalloped die cut and glued everything to my heavyweight vellum cardbase from Cutcardstock
I added foam tape to my circle  and and some vellum leaves.  
To finish off the card I added stickles to the flowers for sparkle & shine. 
I also added an inside panel since my card base is Vellum. 
Thats it. The next in the hop line up is back to The Rabbit Hole Designs. 

To celebrate the February 2022 release, The Rabbit Hole Designs is giving away two savings vouchers; one to a lucky Instagram follower and one to a lucky Fan Page follower. Winner will be chosen at random from the comments left on the INSTAGRAM post, and tagging friends, and also from commenting on the Fan Page post. So make sure to head on over to INSTAGRAM and look for the giveaway post @therabbitholedesignsllc and look for the post at The Rabbit Hole Designs Fan Page
by 11:59 p.m. PST 01-27-2022
Winners will be contacted via DM for the IG winner and announced in the Facebook Fanpage group on 01-28-2022

Saturday, January 29, 2022

Oceans Of Love/Mixed Media

 Hi Rabbity Friends! Kelly Fusco here with a fun mixed media card featuring The Flower Whale Stamp from the Rabbit Hole Designs


To Start off I stamped the Flower Whale image onto 80lb Neenah cardstock from Cutcardstock using Memento Tuxedo Black ink. I colored my whale with Gray Copics and I used Teals, Blues & dark reddish browns THEN I added some shimmer pen to it as well.. 
For my panel I used a piece of Distress Watercolor cardstock and I wet it with a sprayer and then sprayed Blue, Light Blue & brown onto it . I added layers of colors and sometimes drying in between. After it was 100% dry I added some texture paste with a stencil for some dimension. I wanted it to look ocean-y. Is that a word? lol
Then I took my paper distresser and distressed the edges of the panel. I fussy Cut my whale out and I die cut the word "Love" and stacked it 3x high.
I added foam tape to the back of the whale and I curved my Love sentiment to curve along the top of the whale. 

I added Glossy Accents to the LOVE & to the floral parts of my whale and a few Bubble Blower Gems from Trinity Stamps. Thanks for stopping by.

Monday, January 24, 2022

Rainbow Flower Whale-TRHD NEW RELEASE BLOG HOP!

 Hi Guys! Thanks so much for stopping by to celebrate The Rabbit Hole Newest Release. This is part of a Blog hop & I'm using "Flower Whale" for my card today along with the Friend Stamp.


To start off I grabbed some Judikins Masking Paper and I ripped 2 pieces and laid it across my 80lb Neenah cardstock from Cutcardstock.
Then I used Distress inks and my Rabbit Hole Bitty Brushes to create the rainbow blend. I used Candied Apple, Spiced Marmalade, Mustard Seed, Twisted Citron, Peacock Feathers & Wilted Violet.
I love the Rabbit Holes Bitty Blending Brushes. The price point is awesome & they have strings to hang them. I hang mine on a large O-ring.
After my inks were dry I removed the masking paper and I stamped the Flower Whale in Versafine Onyx & I used Clear Embossing Powder/
Once I heat set that & it was done I used Copic markers in C01,C02,C03 to color the areas of the whale outside the rainbow strip.
I then Stamped the word "Friend" which is new in the release and fussy cut that out & propped it up with foam tape. 
I hand drew the wiggly border lines and added some Pops of color Drops in Snowflake.
I hope you like it. The next stop in the blog hop is Deana-
To celebrate the February 2022 release, The Rabbit Hole Designs is giving away two savings vouchers; one to a lucky Instagram follower and one to a lucky Fan Page follower. Winner will be chosen at random from the comments left on the INSTAGRAM post, and tagging friends, and also from commenting on the Fan Page post. So make sure to head on over to INSTAGRAM and look for the giveaway post @therabbitholedesignsllc and look for the post at The Rabbit Hole Designs Fan Page
by 11:59 p.m. PST 01-27-2022
Winners will be contacted via DM for the IG winner and announced in the Facebook Fanpage group on 01-28-2022

The above links are affiliate links. If you use any I receive a small commission at no extra cost to you & Id be super grateful. Stay Crafty My Friends 


Friday, October 29, 2021

Freestyle panel/Floral Bday card

Hi guys! Kelly here. For this card Im using Altenews "Beauty Within" Stamp & Die set. I have the coordinating stencil but I didn't use it or need it for this card. 
To start off I stamped my Images onto 80lb Neenah cardstock from Cutcardstock. I used Copics to "flick" color onto them. I used:
RV10,RV21,RV23 & RV25
V20,BV20,BV01,BV02 & BV13
BG10,BG23,BG45, & BG13
YG11,YG03,YG25 & YG17
the centers I used YR24 & YR27
Then I die cut everything out. 
Once I laid out how I wanted them to appear I used Press n Seal and press it onto my layout, flipped it over and added glue and foam tape so its 1 large arrangement. 
Now comes the FREESTYLE....I took another 80lb panel of Neenah and I used the CHISEL side of my black Copic and from the outside edge I swiped in like a brushstroke. I repeated that down the left side of my panel. 
I grabbed 3 copics from the flower colors and added dots to the panel. 
I then die cut this above panel with a rectangle embossed edge die from Kat Scrappiness. 
Then I glued it to my 110lb Neenah cardbase from Cutcardstock. I removed the liner from the foam tape and adhered it to my panel on my cardbase. I added a bit of shimmer pen and black glaze pen to the dotted centers.
Then I added my label sticker Sentiment. Done.
I was  going to add some gems but decided this card had enough going on. Thanks so much for stopping by!❤

Saturday, June 12, 2021

Easy Floral Watercolor card

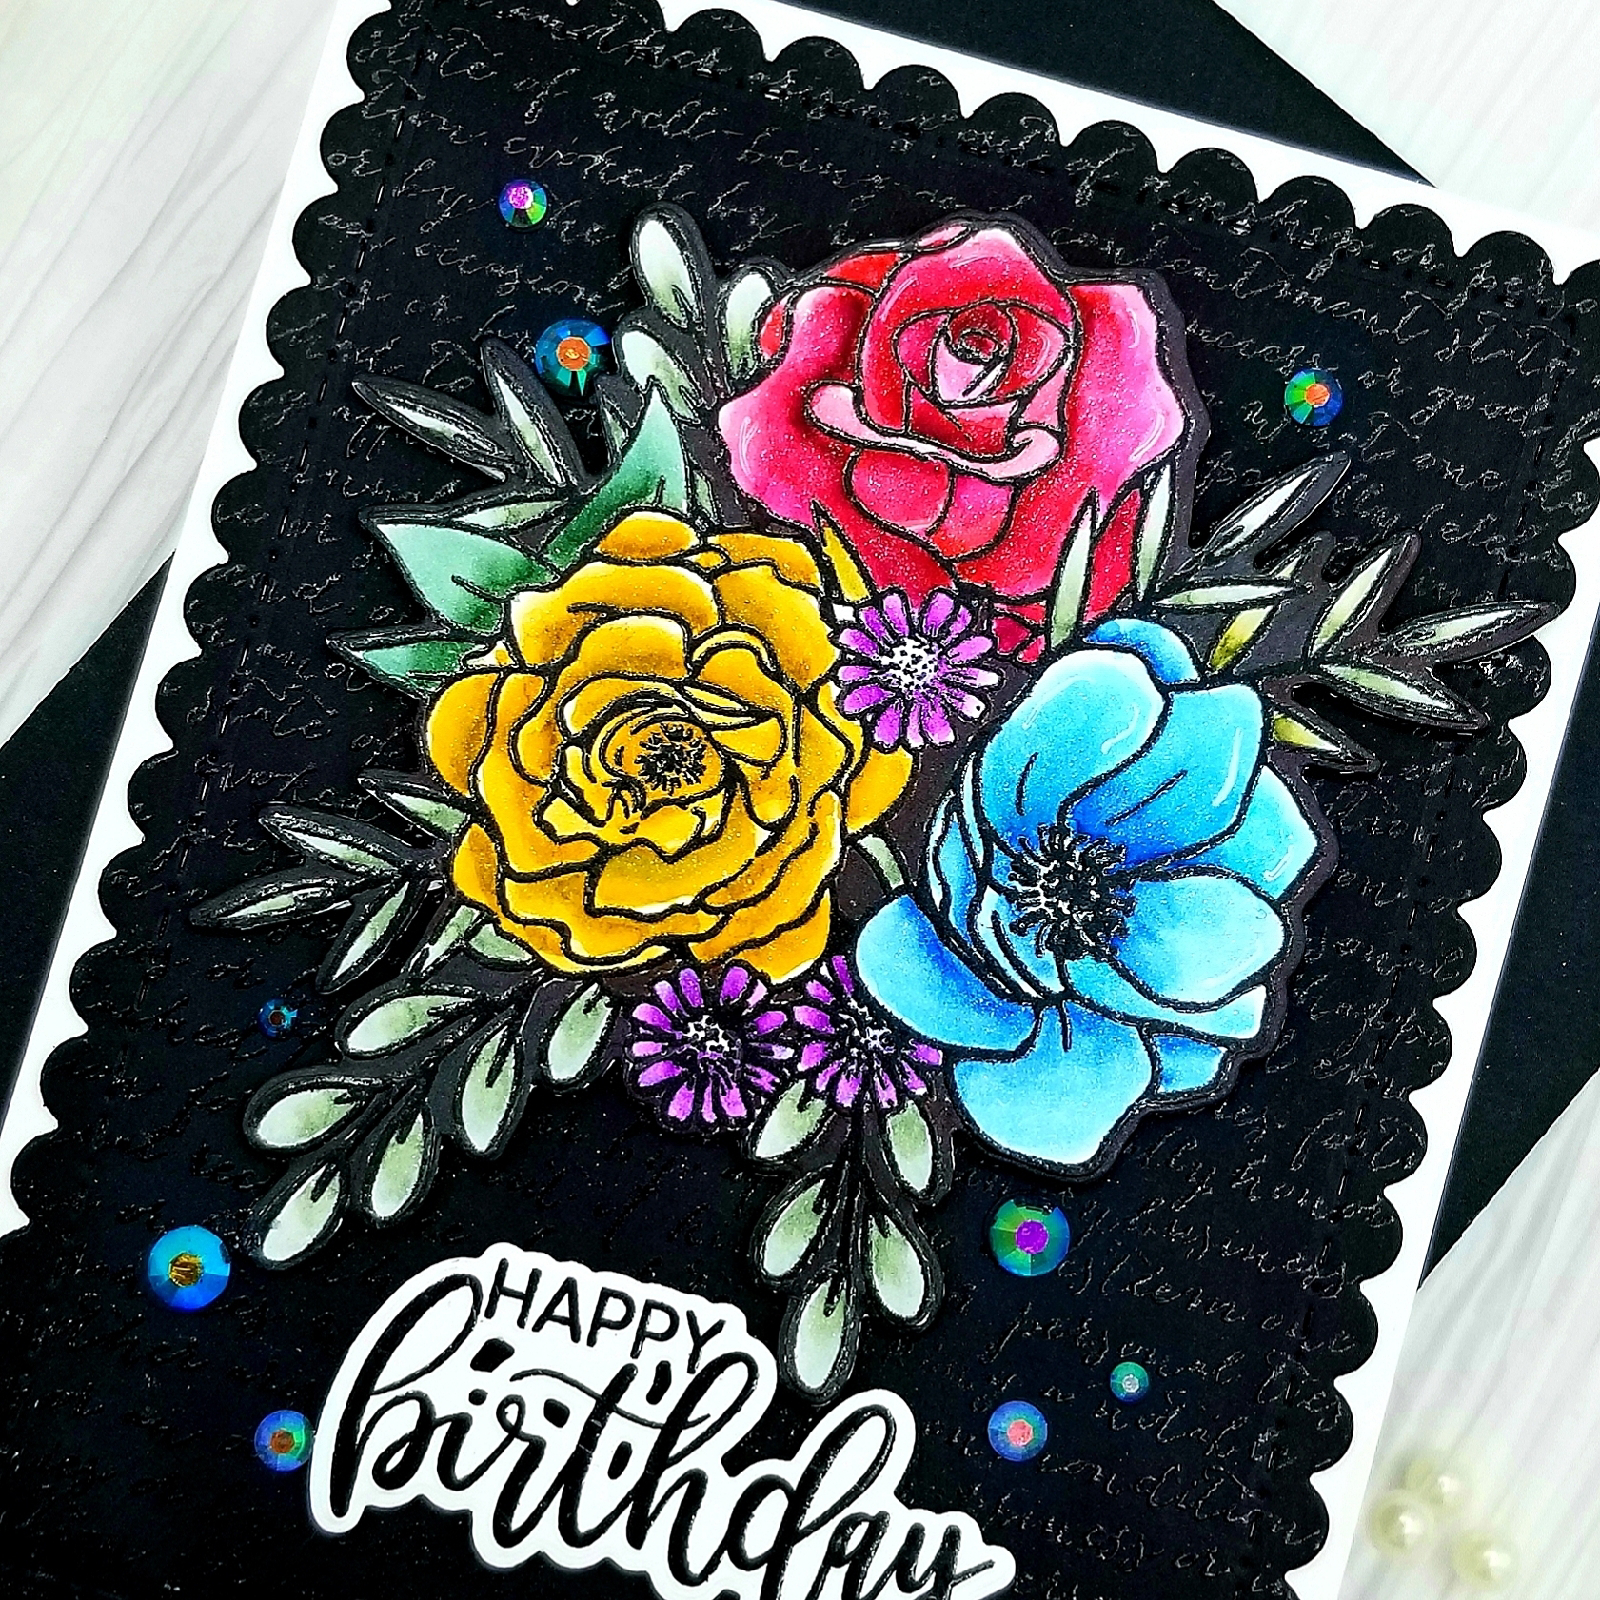
For this card I used all Hero Arts Products. I stamped the Togetherness floral bouquet onto Bristol cardstock with Versafine black and added clear Embossing powder on top.  I then used a combination of Tombow markers in blues,lavenders and purples to get a multi-colored look. I used a lime green for the leaves and added some shimmer pen to the flowers. 
The Sentiment was Hero Arts Thanks Stamp & Cut, a set i use ALOT! 
For the Background i stamped Hero Arts Script Background stamp onto Neenah Epic black 130lb cardstock from cutcardstock using Hero Arts Unicorn white pigment ink.
I can not recommend this cardstock enough. Its FABULOUS! So smooth and black. Its amazing!
 I added a lavender mat onto a  110lb neenah cardstock cardbase. A few pearls from Trinity Stamps to match and its done.
I made a 2nd card in a similar way but i heat embossed the Background in clear and changed up the colors and Sentiment. 
I hope you like them. Have an awesome day and thanks for stopping by πŸ€—πŸŒˆπŸŒž