Thursday, September 16, 2021


Hi Guys! For todays blog post (also on Butterfly Reflections Ink blog) I'm using Honey Bees Lovely Layers Maple Leaf Die. This die set is AMAZING & makes creating leaves so easy! This die set was a gift to myself, for my birthday TODAY!! lol :)
 To start off I grabbed some Alcohol ink panels that had "Autumn Colors" and I used the shadow die and die cut it. Then I grabbed some white & Gold cardstock and die cut the top layer (2 white & 1 gold). I glued them all together. I added a gold bow on top of the stem base using Altenew Metallic Thread and glued it onto my base panel (pierced die plate) which was added to 110lb Kraft Cardstock.
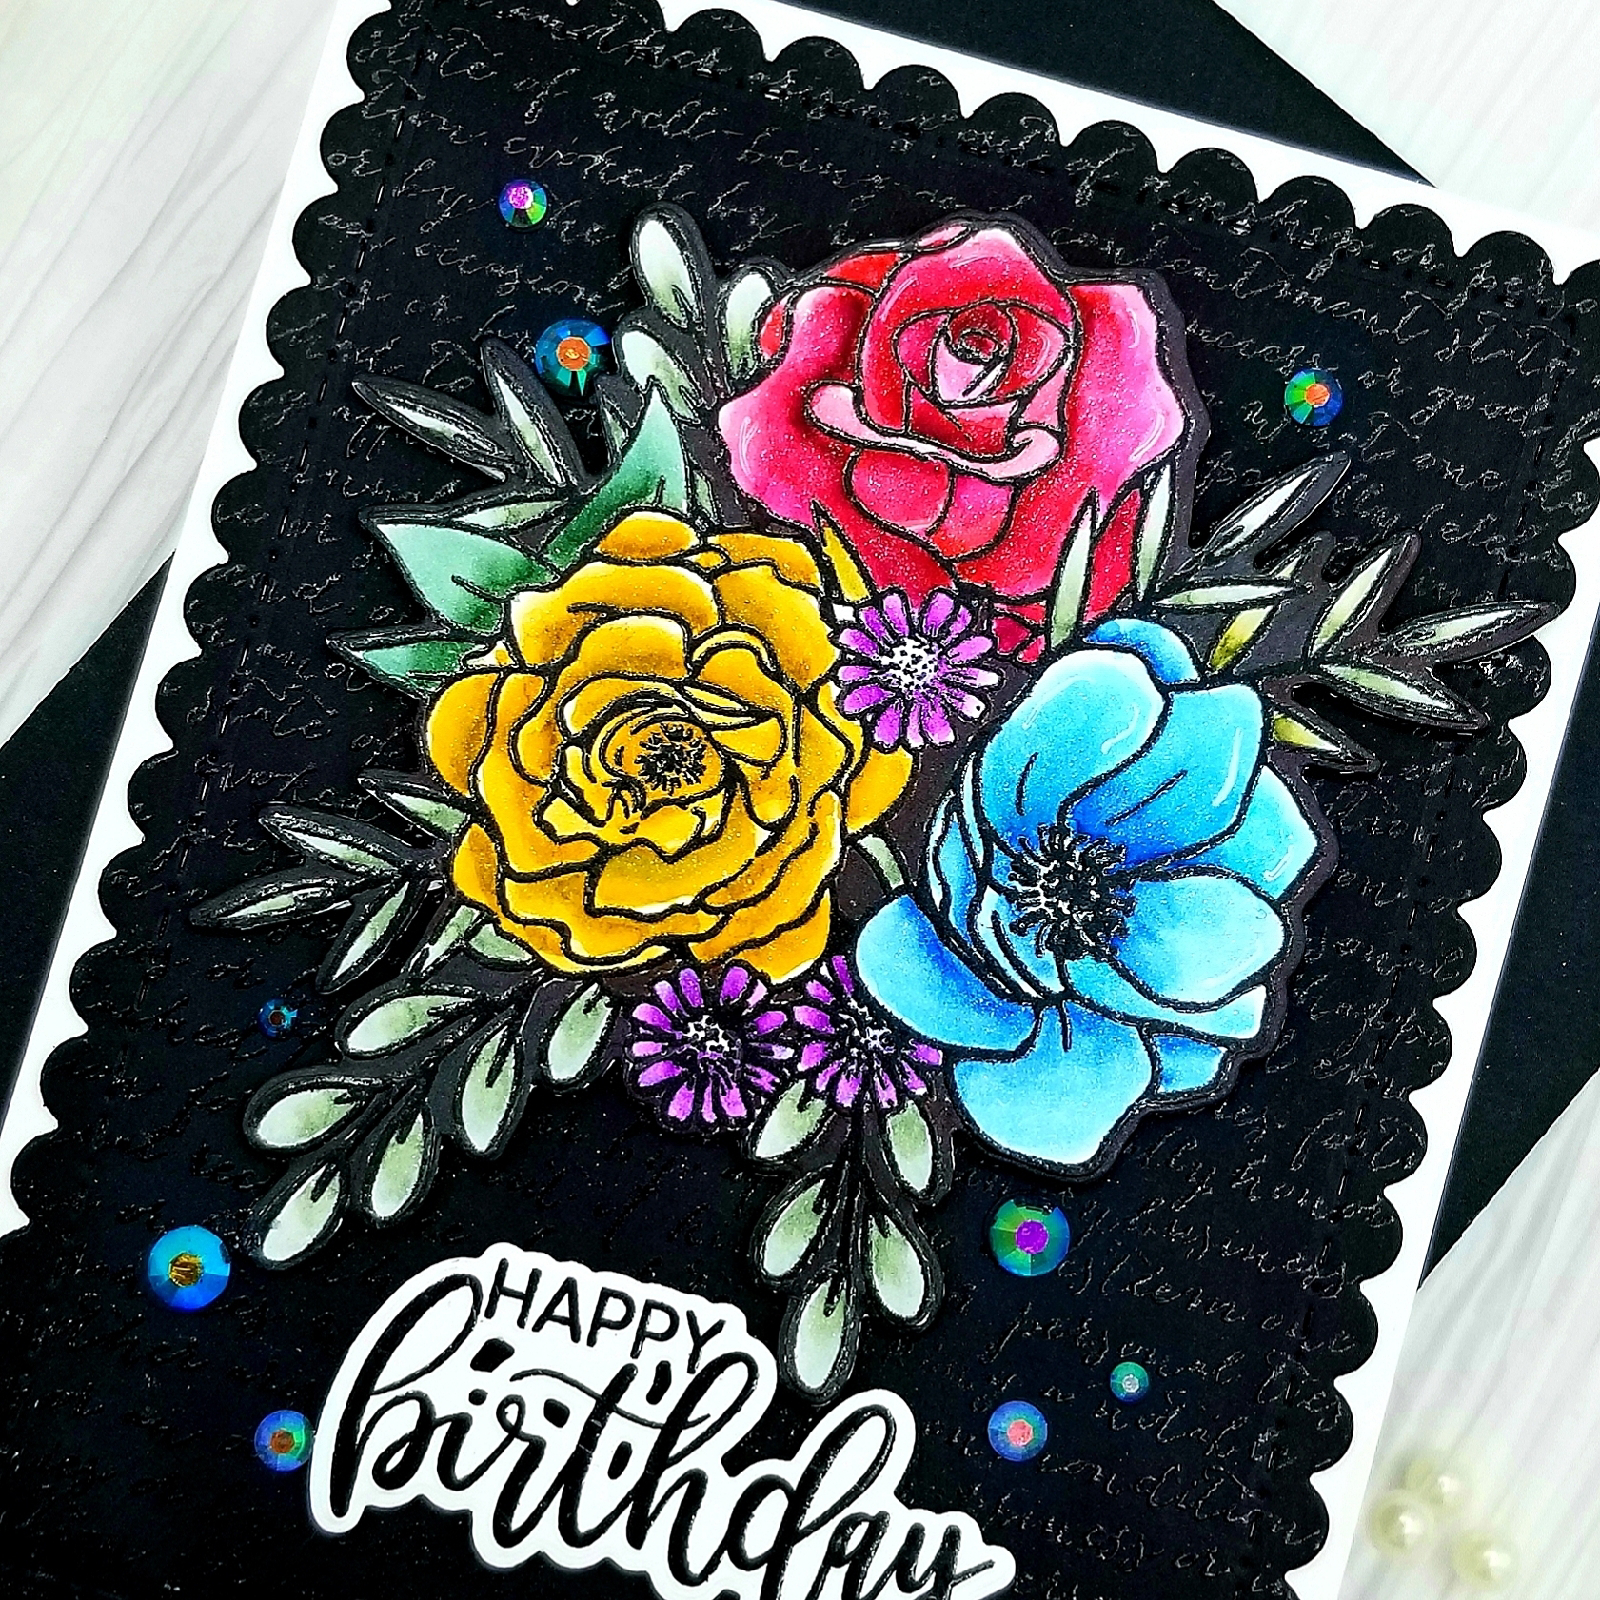
I made a few cards with slight variations (Background, sentiments & embellishments)
The one above (sentiment) is Altenew Label Love  & the Embellishments are the AMAZING Satin Gold From Trinity Stamps. 
What's great about this die from Honey Bee is you can use anything as your shadow layer.  I just happened to use Alcohol inks because I had them made. You can make a striped layer with scraps, a patterned paper layer, mirrored cardstock or anything!
Here's a 3rd card I made below. So easy & fast to put together!
 This one I left plain & the background is Memory Box Pinpoint leaf
Thank you so much for stopping by! Have an awesome UnbeLEAFable day๐Ÿ❤๐ŸŒž

Thursday, August 26, 2021

Autumn Floral Slimline Card

For this card I started off by die cutting the floral border from Spellbinders Large Die of the month 04/21in 110lb Neenah cardstock from Cutcardstock.  
Then I grabbed a 8.5"x4" panel (same cardstock)  and I used my Finger Brushes and blended with Distress inks Fossilized Amber, Crackling Campfire, Aged Mahogany,  Peeled Paint, Faded Jeans, Walnut Stain & Black Soot. Then I took the coordinating floral dies snd cut out some white felt florals. 
Before I glued them down I took Waffle Flowers Oversized Grace & Kindness set and bent the 1st part of the sentiment. This took a few times as I stamped it ON TOP of acetate 1st which was laid on top of my panel EXACTLY so if it was crooked i could fix it before screwing it up,lol.
I heat embossed it by using Versamark & WOW clear Embossing powder. I die cut "Kindness" in black cardstock and stacked the shadow 3x for dimension. 
I then glued that ink blended piece (trimmed down to fit under the floral panel) onto my 8.5"x 
3.5" cardbase. I added a white mat which is 1/8" smaller than cardbase. Then another black mat which was 1/8" smaller than the white one. Lol. Im not good with measurements so I just go down 1/8". Then my ink blended panel was, you guessed it, 1/8" smaller. Once it was sll glued down I added my felt flowers and Trinity Stamps Something New pearls to the centers. 
I really like how this card came out. So I made two! Last pic is the 2nd one. 
I love the fall colors. ๐Ÿ๐ŸŒˆ 
I hope you like it too!
Stay crafty my friends๐ŸŒž๐ŸŽจ❤

Saturday, August 14, 2021

No Line Copic Coloring

Ok so lets face it, no line coloring is without a doubt a commitment of time. However the results are always beautiful. 
I started off stamping the image with a light gray ink. 
One that I can see but can be covered by coloring. I used a copic friendly Fog ink. 
I stamped it onto 110lb Neenah cardstock from cutcardstock. 
Then i started off with the sunflowers. I used 3 shades of yellow (YR23,YR24,YR27)
Im not the best at it but I enjoy it. 
Then for thr tulips I used 3 deep reds (R56,R39,R59)
The Greens were (YG03,YG17,YG67)
The background I colored using some light blues (B000,B00,B02)
And a couple browns for the flower centers. I used a white Gelly roll pen to add highlights and "splatter dots" for a bit of interest.
I die cut the "thanks" 3x with black cardstock (135lb Epic Black Classic Crest) from cutcardstock 
And on top I added black glossy cardstock. 
The shadow is vellum which i die cut with double side adhesive on it so the glue wouldnt show.
I added some clear droplets and thats it. 
I hope you like it & thanks for stopping by!
Hugs๐Ÿค—๐ŸŒผ

Friday, July 2, 2021

No Stamps, No problem! Fast & Easy cards!

Im sure we all struggle with creativity and the time it takes to create. 
So this direct to paper technique is perfect for simple & fast cards. 
To start off with I used Watercolor cardstock. Some on the smooth side and some on the textured side. I took masking paper (I have a roll of Judikins that I love!)
I tore it and laid it across my panel about an inch in. I took my mini distress inks and simply swiped from the masking paper torn edge over the cardstock in rainbow order. I used Picked Raspberry,  Candied Apple, Spiced Marmalade, Mustard Seed, Twisted Citron, Mowed Lawn, Peacock Feathers & Seedless Preserves.  I wanted it to be 8 colors on my horizontal cards (4 on 1 side and 4 on the other)
The next set of cards I angled my masking paper from corner to corner on an an angle. 
I used the same colors and repeated the process. I used tumbled glass and shaded lilac.
Whats great about this technique is you can change up the colors to suit your needs. Masculine cards too. 
I have a short video up on my channel if you want to check it out.
https://youtu.be/qHJJvHKMtgw
Thanks for stopping by!

Tuesday, June 15, 2021

Rainbow/Black resist Card


To start, I used an oval stencil and I created a rainbow blend with Distress inks. Once dry i kept the stencil on the rainbow blend and I stamped the image using Stampers Anonymous Vines & Roses stamp in Clear Versamark. I clear heat embossed the image without the stencil of course. 
Then i put the stencil back on and added black versafine pigment ink on top. Then i wiped away the black ink from my Embossed image. While the stencil stayed on to prevent smearing. 
 I then die cut "Happy" From Hero Arts, Happy Stamp & Cut in Holographic cardstock and added the birthday. A few Bubble Blowout gems and edged the panel in black. 
Thats it. Hope you like it and thanks for stopping by!

Saturday, June 12, 2021

Easy Floral Watercolor card

For this card I used all Hero Arts Products. I stamped the Togetherness floral bouquet onto Bristol cardstock with Versafine black and added clear Embossing powder on top.  I then used a combination of Tombow markers in blues,lavenders and purples to get a multi-colored look. I used a lime green for the leaves and added some shimmer pen to the flowers. 
The Sentiment was Hero Arts Thanks Stamp & Cut, a set i use ALOT! 
For the Background i stamped Hero Arts Script Background stamp onto Neenah Epic black 130lb cardstock from cutcardstock using Hero Arts Unicorn white pigment ink.
I can not recommend this cardstock enough. Its FABULOUS! So smooth and black. Its amazing!
 I added a lavender mat onto a  110lb neenah cardstock cardbase. A few pearls from Trinity Stamps to match and its done.
I made a 2nd card in a similar way but i heat embossed the Background in clear and changed up the colors and Sentiment. 
I hope you like them. Have an awesome day and thanks for stopping by ๐Ÿค—๐ŸŒˆ๐ŸŒž

Friday, February 26, 2021

Easy Slimline Card

I love making Slimline cards and they are so popular now. 
So for this one I used Hero Arts Monarch Butterfly which gives incredible realistic results. 
I started off stamping the bottom layer in the light color, next layer in a darker shade (same color family) and the final outline in black. It would be great embossed too! I used Catherine Pooler & Hero Art Inks.
I die cut each butterfly, I lined them up how I wanted them to be and I used Glad Press n Seal to pick them up as a whole. I then added foam tape.
I die cut my panel from Trinity Stamps Quilted Cover die and added the polka dots from the Quilted trio coordinating stencil set in gray ink. 
My card base is 110lb Neenah from Cutcardstock  and measures 3.5" x 8.5".  I added a black mat slightly smaller. And my Quilted panel a bit smaller than that.
I adhered the butterflies to my panel and added some shimmer pen for some sparkle. I added Trinity Stamps unicorn tears gems for some more sparklie goodness (love those gems...drooling)
My sentiment was heat embossed using Versafine onyx with Clear embossing powder from WOW!
if you would like to see the video and more details heres the link:

https://youtu.be/Z5QlPSynGkc

Thank you so much for stopping by! Stay safe, stay healthy  & stay CRAFTY๐Ÿ–Œ๐ŸŽจ๐Ÿ–✂️๐ŸŒž๐Ÿค—
***the above links are affiliate links. If you use any I will receive a small commission at NO extra cost to you whatsoever. Id be so grateful for any support! Big hugs! ๐Ÿค—Remember, Kindness is always beautiful!๐ŸŒˆ⭐๐Ÿฆ‹